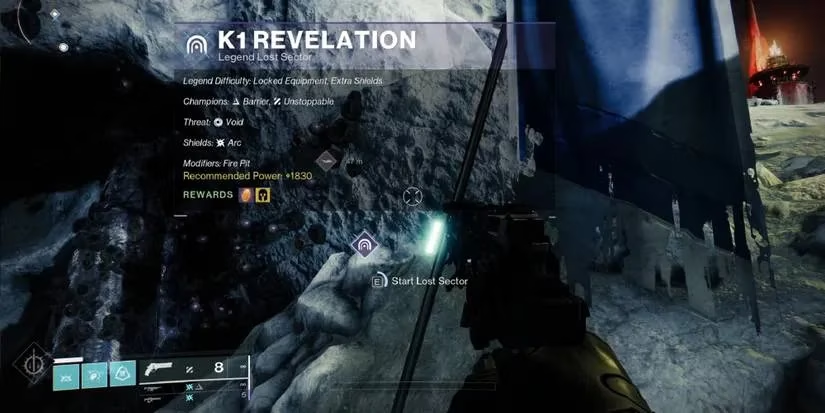
Honestly, every time I drop into K1 Revelation on the Moon, a little part of me braces for impact. It’s not just another strike; it feels like staring into the abyss while the abyss fires a continuous beam of Arc energy back at you. The designers over at Bungie really outdid themselves in crafting one of the most punishing Legend Lost Sectors in the game’s history. It’s 2026, and even with years of power creep and new abilities, a bad build here will humble you faster than a cliff edge on a sparrow.

What makes this place so nightmarish isn't just the enemy density, but the architecture of the arena. You’re funneled into an open space where three Unstoppable Ogres are practically waiting in line to stomp you, all while a Barrier Knight and a giant boss Ogre named The Tormented take turns trying to ruin your flawless run. Patience is the real exotic weapon here. Rushing in is a guaranteed ticket back to orbit.
Dissecting the Hive: K1 Revelation Legend Enemies
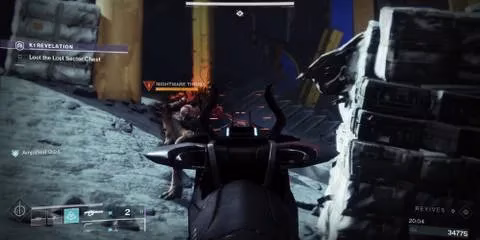
Unlike other Lost Sectors that throw a mixed bag of enemy types at you, K1 Revelation is pure, unadulterated Hive. Don’t let the absence of Wizards lull you into a false sense of security. The roster is meticulously designed to shred impatient Guardians. You’ve got your standard Thrall and Acolytes, but then they throw in Nightmare Thralls who move with an unsettling speed. The main course, however, is the triple threat of Unstoppable Ogres. Their eye blasts are devastating, and their stomp mechanics can send you flying into a wall with lethal results.
Let’s get tactical. Here’s the exact combat contract you’re signing when you load in:
-
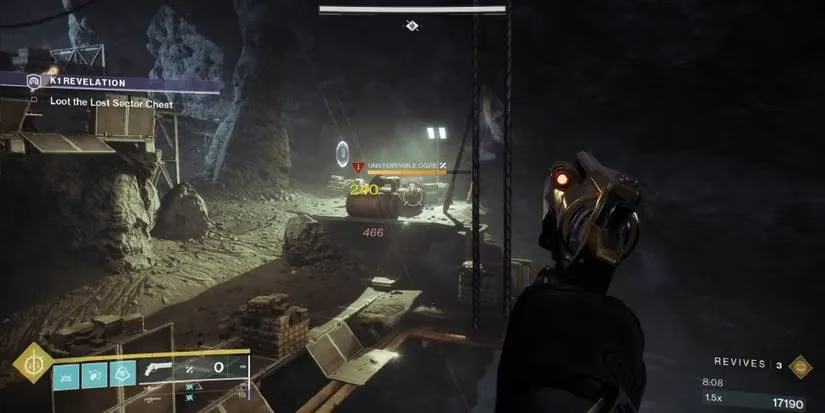
Unstoppable Ogre (3x): These are the priority targets. Their high health pools and aggressive tracking demand immediate and sustained damage.
-
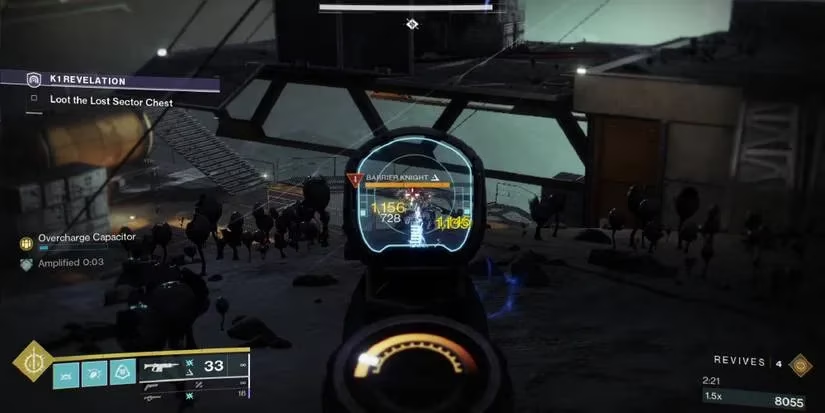
Barrier Knight (3x): Masters of disruption. They’ll pop their shield for health regen at the worst possible moments, forcing you to keep an Anti-Barrier weapon ready at all times.
-
Thrall & Acolyte: Canon fodder, but deadly in swarms. They’re excellent for ammo generation but can quickly overwhelm you if you ignore them.
-
Nightmare Thrall: Faster, more aggressive, and a pain to track.
-
Knight: Hard-hitting mid-range threats that you should never underestimate.
-
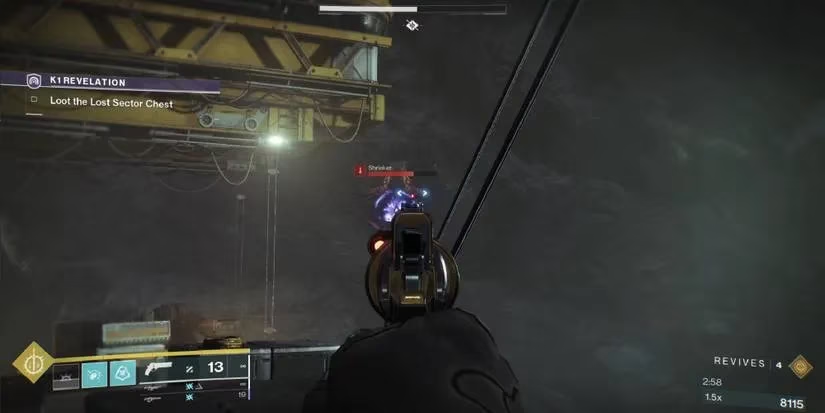
Shrieker: A stationary turret with a rapid-fire death beam. This thing is the ultimate zone-control tool for the Hive.
-
The Tormented (Boss): An even mightier Ogre that serves as the final exam.
Architecting Your Legend: Best Builds And Loadout
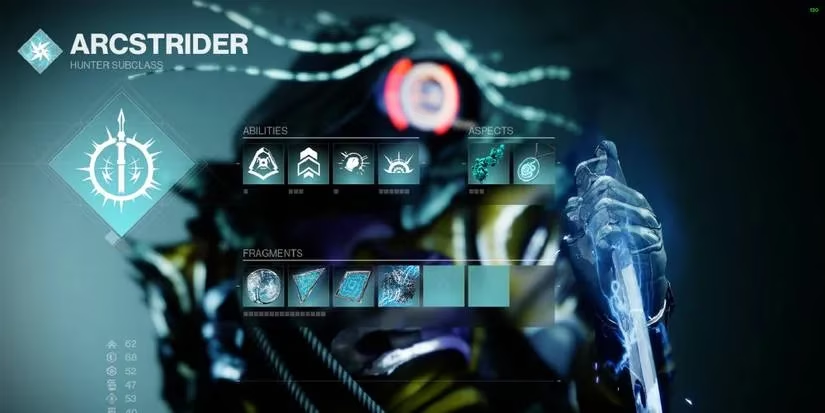
For my money, a Super that excels at either precision destruction or long-range area denial is the way to go. The open map punishes anything short-range. In 2026, while some subclass verbs have been tuned, the core philosophy remains: control the space or die. Hunters running Arc with Gathering Storm can pin an Ogre in place and watch the lightning do its work. It’s satisfying and supremely effective for damage checks.
Here’s a breakdown of my recommended configurations, which have proven their worth time and again:
| Class | Super | Key Aspect 1 | Key Aspect 2 | Core Fragment |
|---|---|---|---|---|
| Hunter (Arc) | Gathering Storm | Lethal Current | Flow State | Spark of Magnitude |
| Titan (Solar) | Hammer of Sol | Sol Invictus | Roaring Flames | Ember of Char |
| Warlock (Arc) | Chaos Reach | Arc Soul | Lightning Surge | Spark of Recharge |
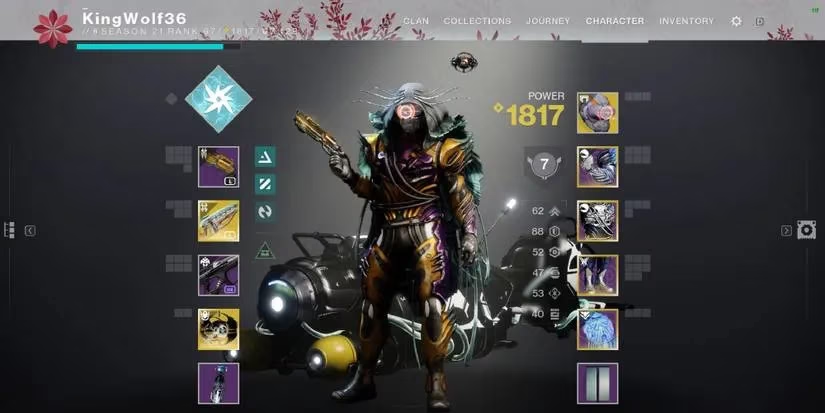
Now, the loadout is where theory meets reality. Since Arc shields are the only ones you're breaking, a full-Arc kit is your best friend. The catch? Most top-tier Arc Hand Cannons are Energy weapons, which competes with the exotic slot for Centrifuse, one of the greatest PvE Auto Rifles ever created for sustained fire. You’ll likely need to bring a Kinetic or Solar Hand Cannon to the fight.
-
Kinetic (Hand Cannon): Fatebringer is the undisputed king. For an alternative, Loud Lullaby is a solid workhorse.
-
Energy (Auto Rifle): Centrifuse is a monster at building charge and blinding enemies. Come To Pass is a strong legendary backup.
-
Power (Linear Fusion Rifle): Storm Chaser is tailor-made for this. The Taipan-4FR, with its Veist Stinger trait and triple-tap potential, is still a god-tier legendary option in 2026.
Don't sleep on your armor mods. I swear by Arc Targeting for stickiness, Heavy Ammo Finder to keep the Storm Chaser fed, and Void Resistance to survive those punishing Ogre blasts. Arc Weapon Surge and Arc Holster are the perfect pair, and Proximity Ward is a lifesaver when you need to execute a risky finisher.
Completing The Lost Sector: A Step-by-Step Dance of Death
The moment you transmat in, a swarm of Acolytes rushes you. Clear them quickly; they're just the appetizer. The first real challenge is the Barrier Knight perched on the high cliff to your right. That cliff has a perfect central pillar—your new best friend. Use it to peek and shred the Knight’s barrier with your Auto Rifle. The moment he's stunned, whip out your sniper rifle or Linear Fusion Rifle. Don’t get greedy. A quick burst, then back to cover. Repeat until you can finish him.
Pushing forward brings you to a two-level platform and an immediate dilemma. Another Barrier Knight roams the lower level, but a Shrieker on the far side is already spinning up. Do NOT rush in. That Shrieker’s code has not been softened in years; its beam is a pure damage hose. Use the cliff edge you're standing on to neutralize the Knight's shots first.
With the Knight down, the Shrieker becomes the problem. I use the marked boxes for cover—it’s a slow, painful dance. You pop out, land a few high-impact shots, and duck back when your health bar screams. Patience is non-negotiable here; you have to treat it like a turn-based game where the Shrieker’s turn is always lethal.
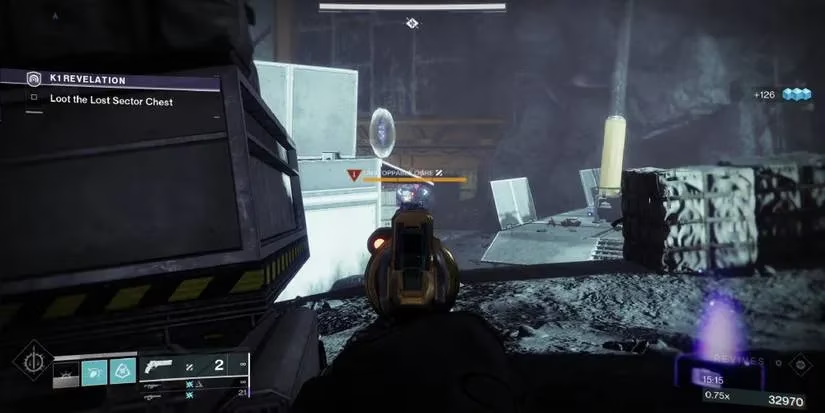
After the Shrieker explodes, a fresh wave of Acolytes and Knights appears on your left. This is a DPS check. Don’t be shy about burning a Super or heavy ammo here. A fast clear is a safe clear. As soon as they’re dust, head to the area with the floating protected crystal. Clearing the infantry here triggers the first Unstoppable Ogre. Immediately fall back to the platform where you killed those Knights. The Ogre will follow, but that position gives you a long, safe lane to unload everything you have.
One down, two to go. Move forward and destroy the crystal on the right to spawn Ogre number two. Rinse and repeat—kite him back to your safe platform. For the third and final Ogre, which spawns on the opposite side after you destroy the second crystal, your position has enough cover to keep you completely safe. He won’t even follow you if you stay put. It’s a shooting gallery at this point; keep your distance and chip him down. This act of patience opens the path to the boss.
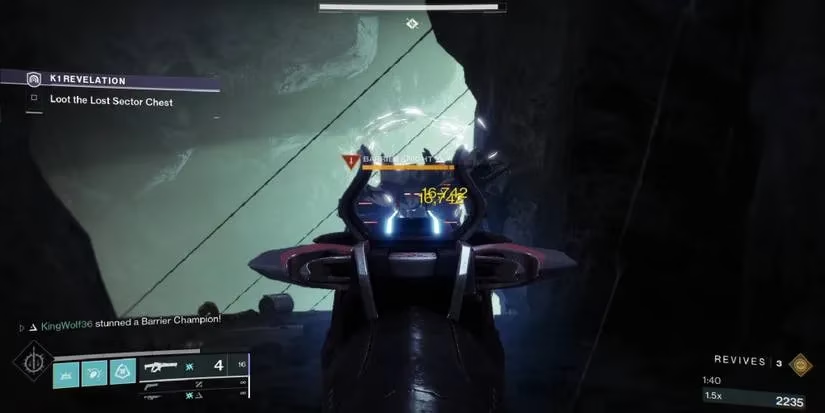
The Tormented spawns alongside yet another Barrier Knight. Tunnel vision is key. Ignore the Knight entirely and throw your Nova Bomb, Gathering Storm, or heavy ammo straight into the boss’s face. Eliminating The Tormented is the only objective that matters right now. Once the boss is a memory, you can clean up the Knight and the smaller adds. But here’s the final sting: when you try to open the chest, a final wave, including a hyper-aggressive Nightmare Thrall, will spawn. Fall back, take control, and eliminate that Nightmare Thrall as the last act of your performance. With the area finally silent, you can open the chest and claim your well-deserved Exotic reward.
Comments