
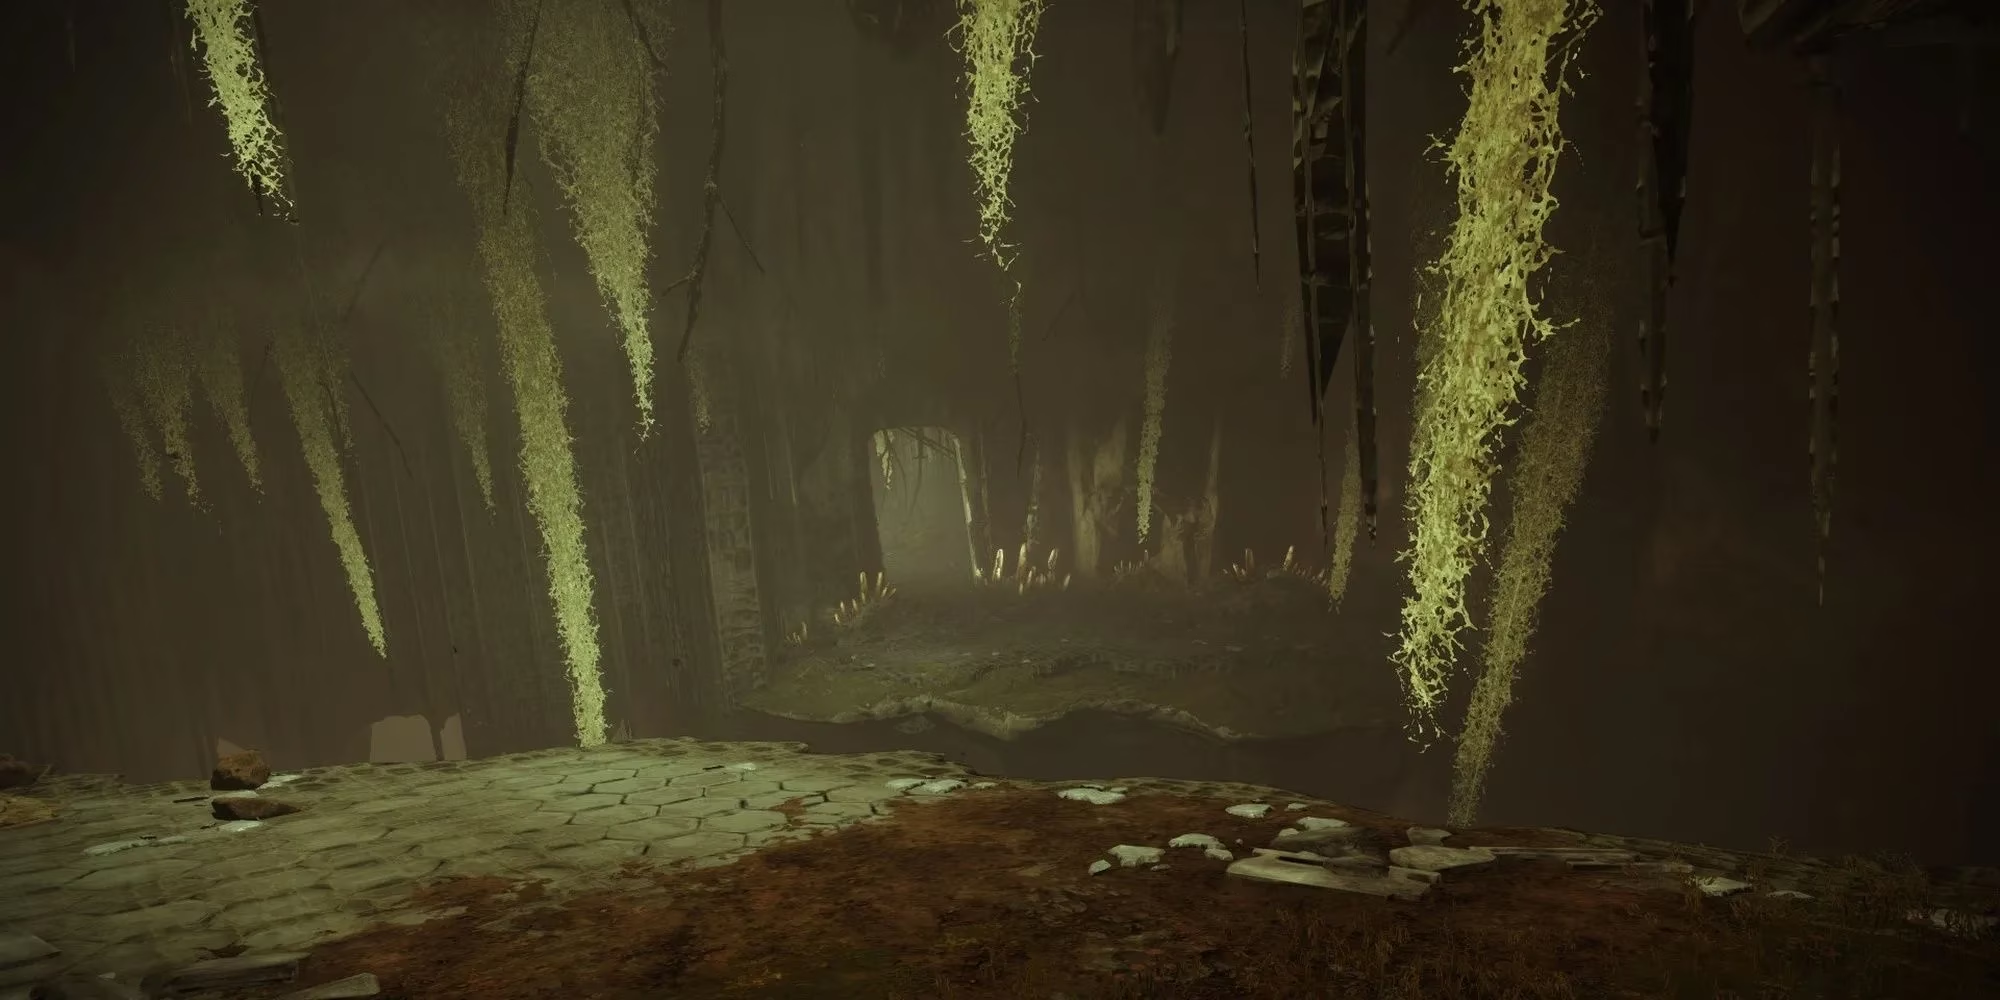
I still remember the first time I dropped into Metamorphosis. It was during The Witch Queen era, and I was chasing a better roll on a Hunter exotic. The Lost Sector sits in Savathûn's Throne World, and it is one of three Lost Sectors on that destination with Legend and Master variants. Every day, Destiny 2 picks one Lost Sector to feature. Clear it on Master, and you get a small chance at an Exotic for a specific armor slot. In 2026, that loop still exists, and Metamorphosis remains one of the quickest clears when it is in rotation.
Modifiers and My Go-To Loadout
Master difficulty is not forgiving. You get locked loadout, match game shields, and Champions that will end your run if you ignore them. Here is the table I keep in my head.
| Modifier | What It Does | My Counter |
|---|---|---|
| Overload Champions | Regenerate health and spam abilities | Overload SMG, Auto Rifle, or Divinity |
| Unstoppable Champions | Take reduced damage and rush you | Leviathan's Breath, Unstoppable Hand Cannon, or Stasis/Strand |
| Match Game | Shields resist unmatched damage | Solar for Solar shields, Arc for Arc shields |
| Locked Loadout | No gear swaps | Plan in orbit |
| Limited Revives | Death costs time | Play cover and use resist mods |
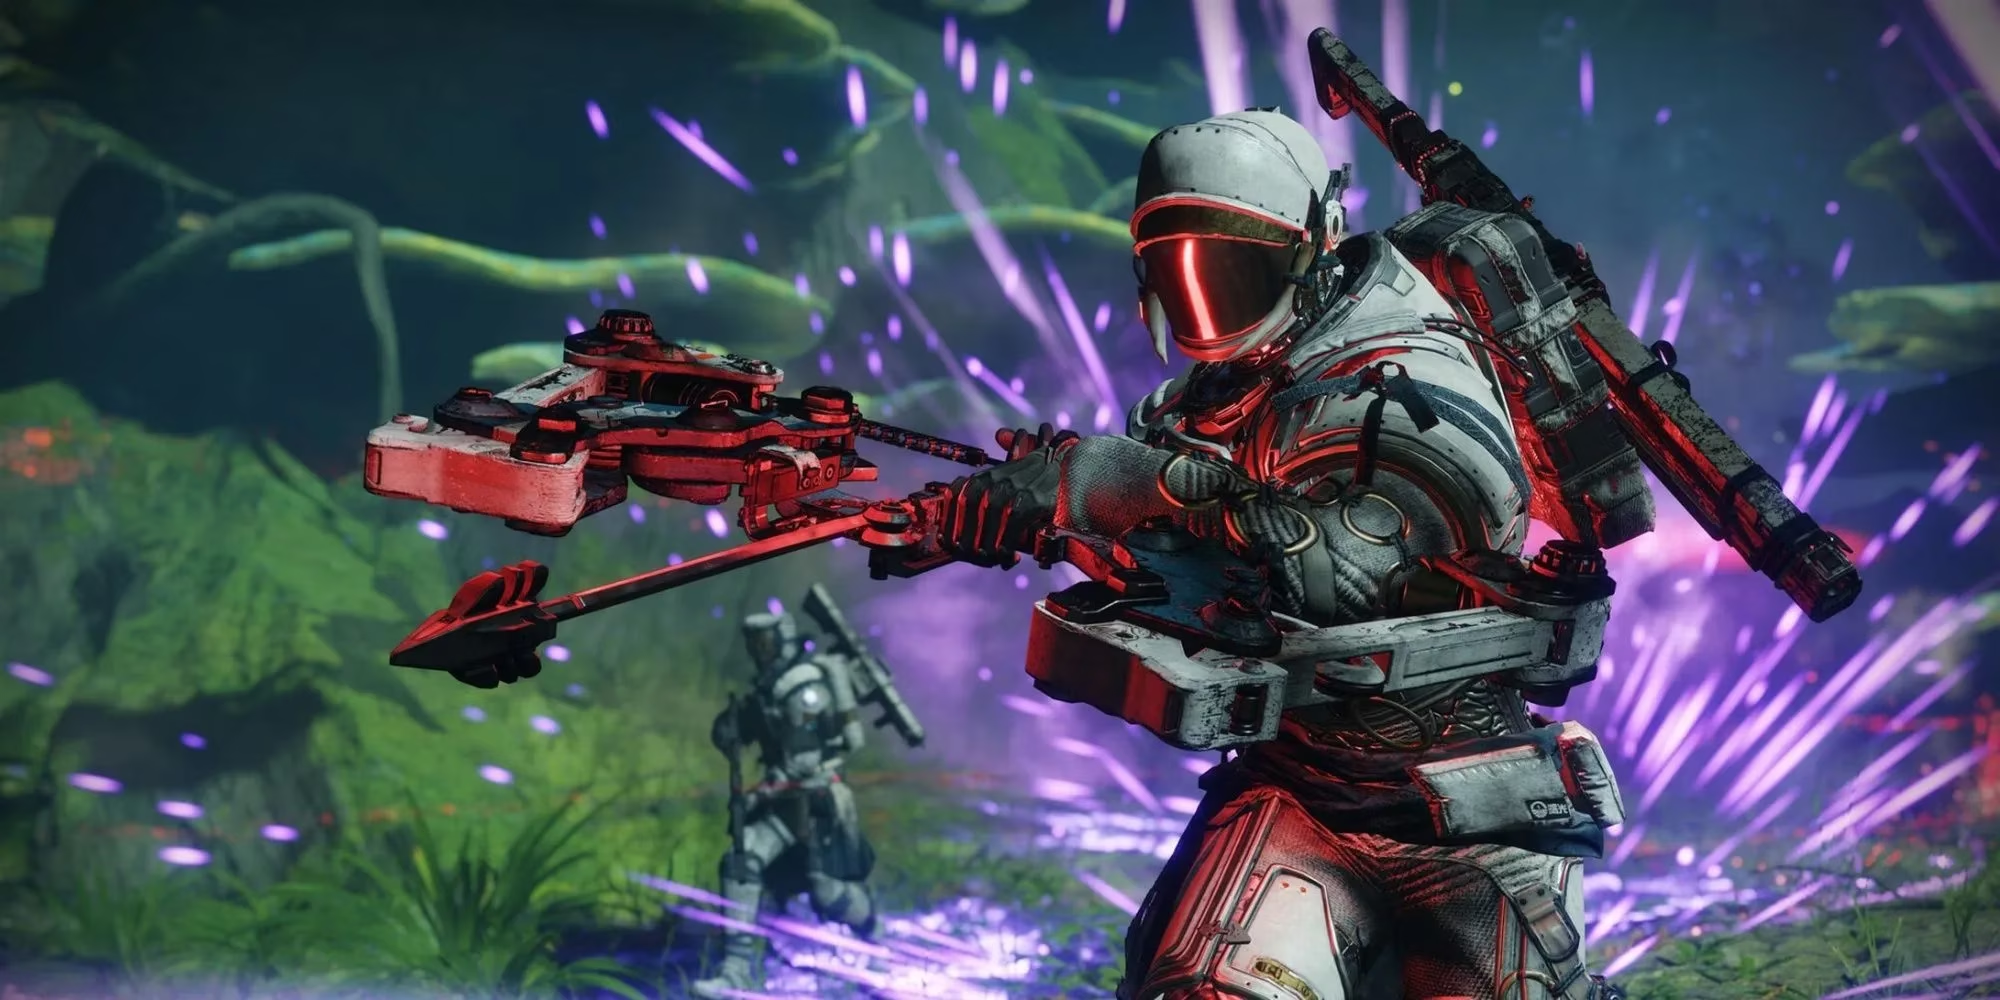
My recommended loadout for Metamorphosis looks like this:
-
Kinetic: Overload SMG or Auto Rifle
-
Energy: Solar or Arc weapon for shields, or a Glaive for defense
-
Heavy: Leviathan's Breath for Unstoppable, or a strong Rocket Launcher / Linear Fusion Rifle
-
Subclass: Prismatic for flexibility, Void for Devour, Solar for healing
-
Armor Mods: Concussive Dampener, Sniper Resist, Ammo Finders, Scavengers
The Entrance: Overloads and an Unstoppable
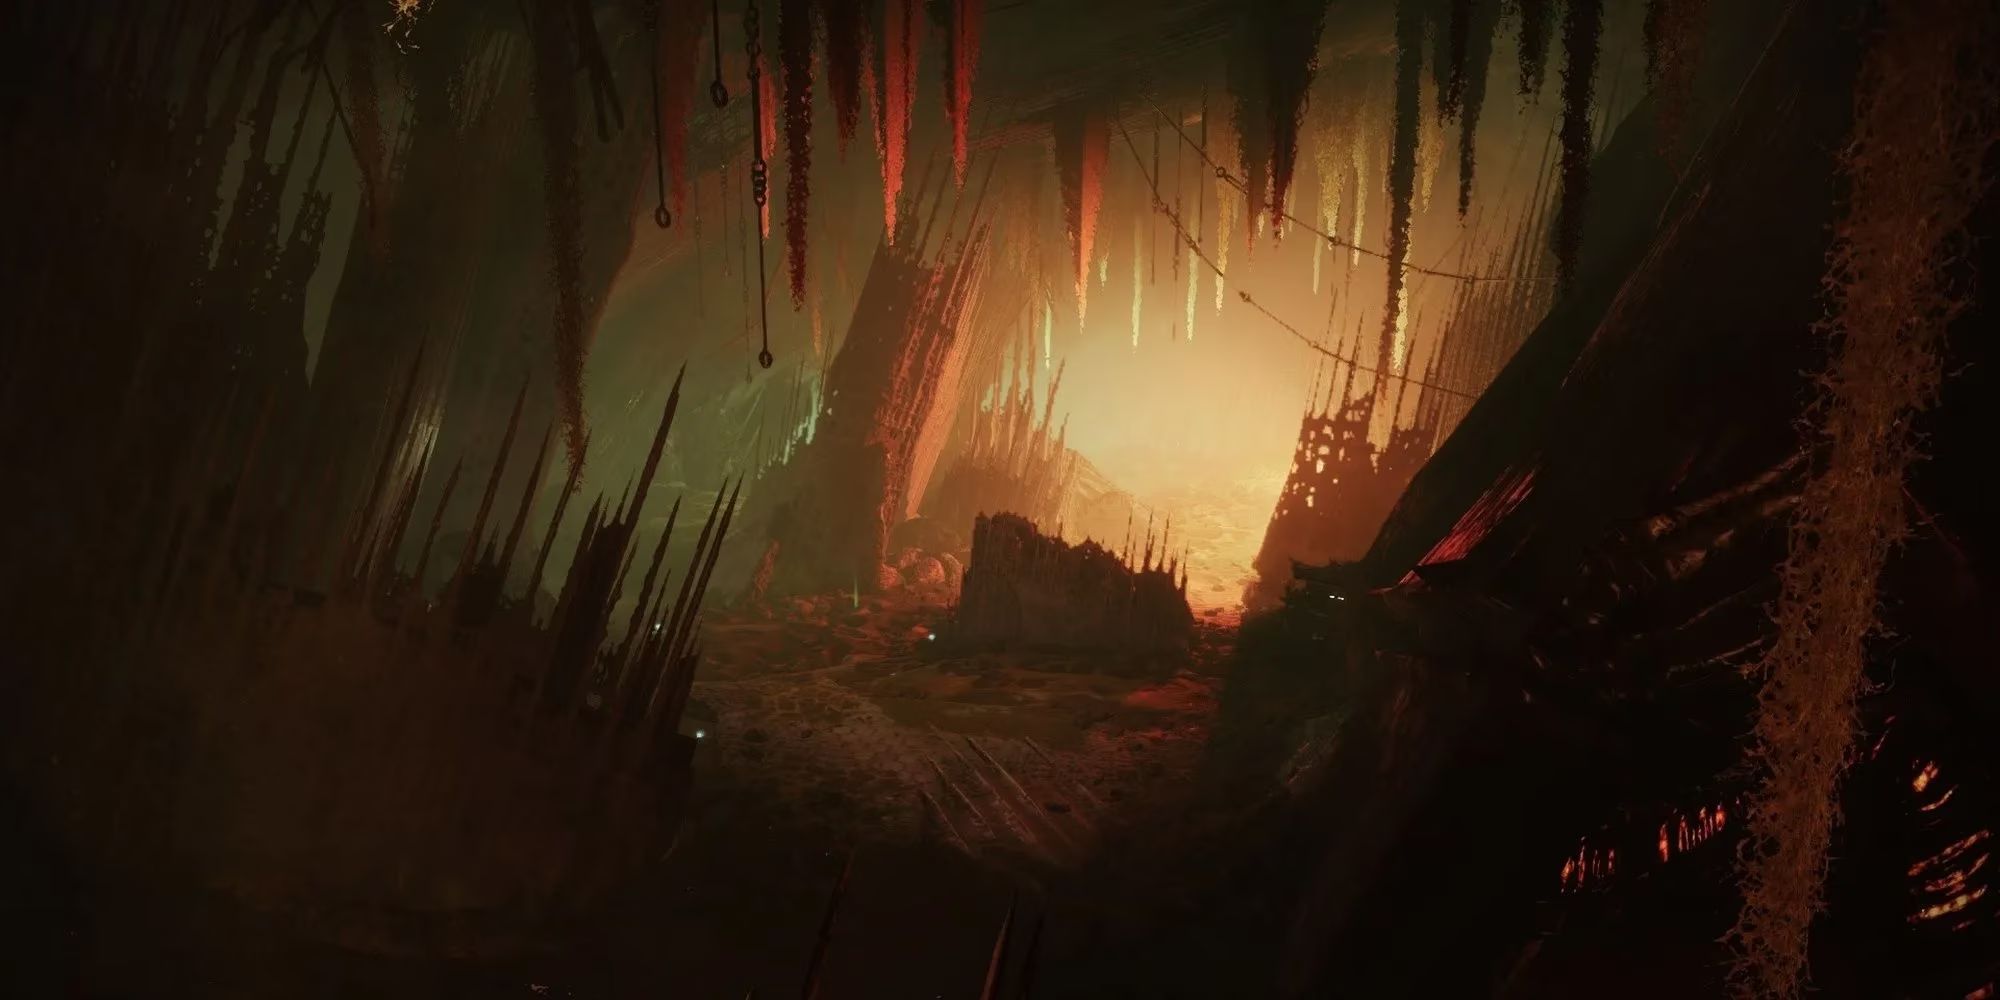
The first room has three groups of Scorn. One group is directly to your left, and it contains an Overload Chieftain. I always eliminate that group first. I use my Heavy, an overcharged grenade if I am on Void, or any burst ability I have. Stun the Overload and kill it before the other Scorn notice. If you take too long, the whole room collapses on you.
Defeating that group spawns more Scorn and pulls everyone in the room. Keep your eyes left and right for a swarm of Ravagers. These headless Scorn use Stasis flails to freeze you. I retreat, clear the pack, then work on the Scorn group further to my left. Another Overload Chieftain is guarded by fodder enemies. I repeat the same dance: grenade or AoE the adds, stun the Champion, kill it, then deal with the Unstoppable Abomination that is giving the shielded Knight a hard time. Killing the Unstoppable does not take much effort with Leviathan's Breath. Clear the rest of the enemies, then break the crystals surrounding the Hive Knight to make it vulnerable. Kill the Knight before you proceed.
The Lower Floor: Don't Push Forward
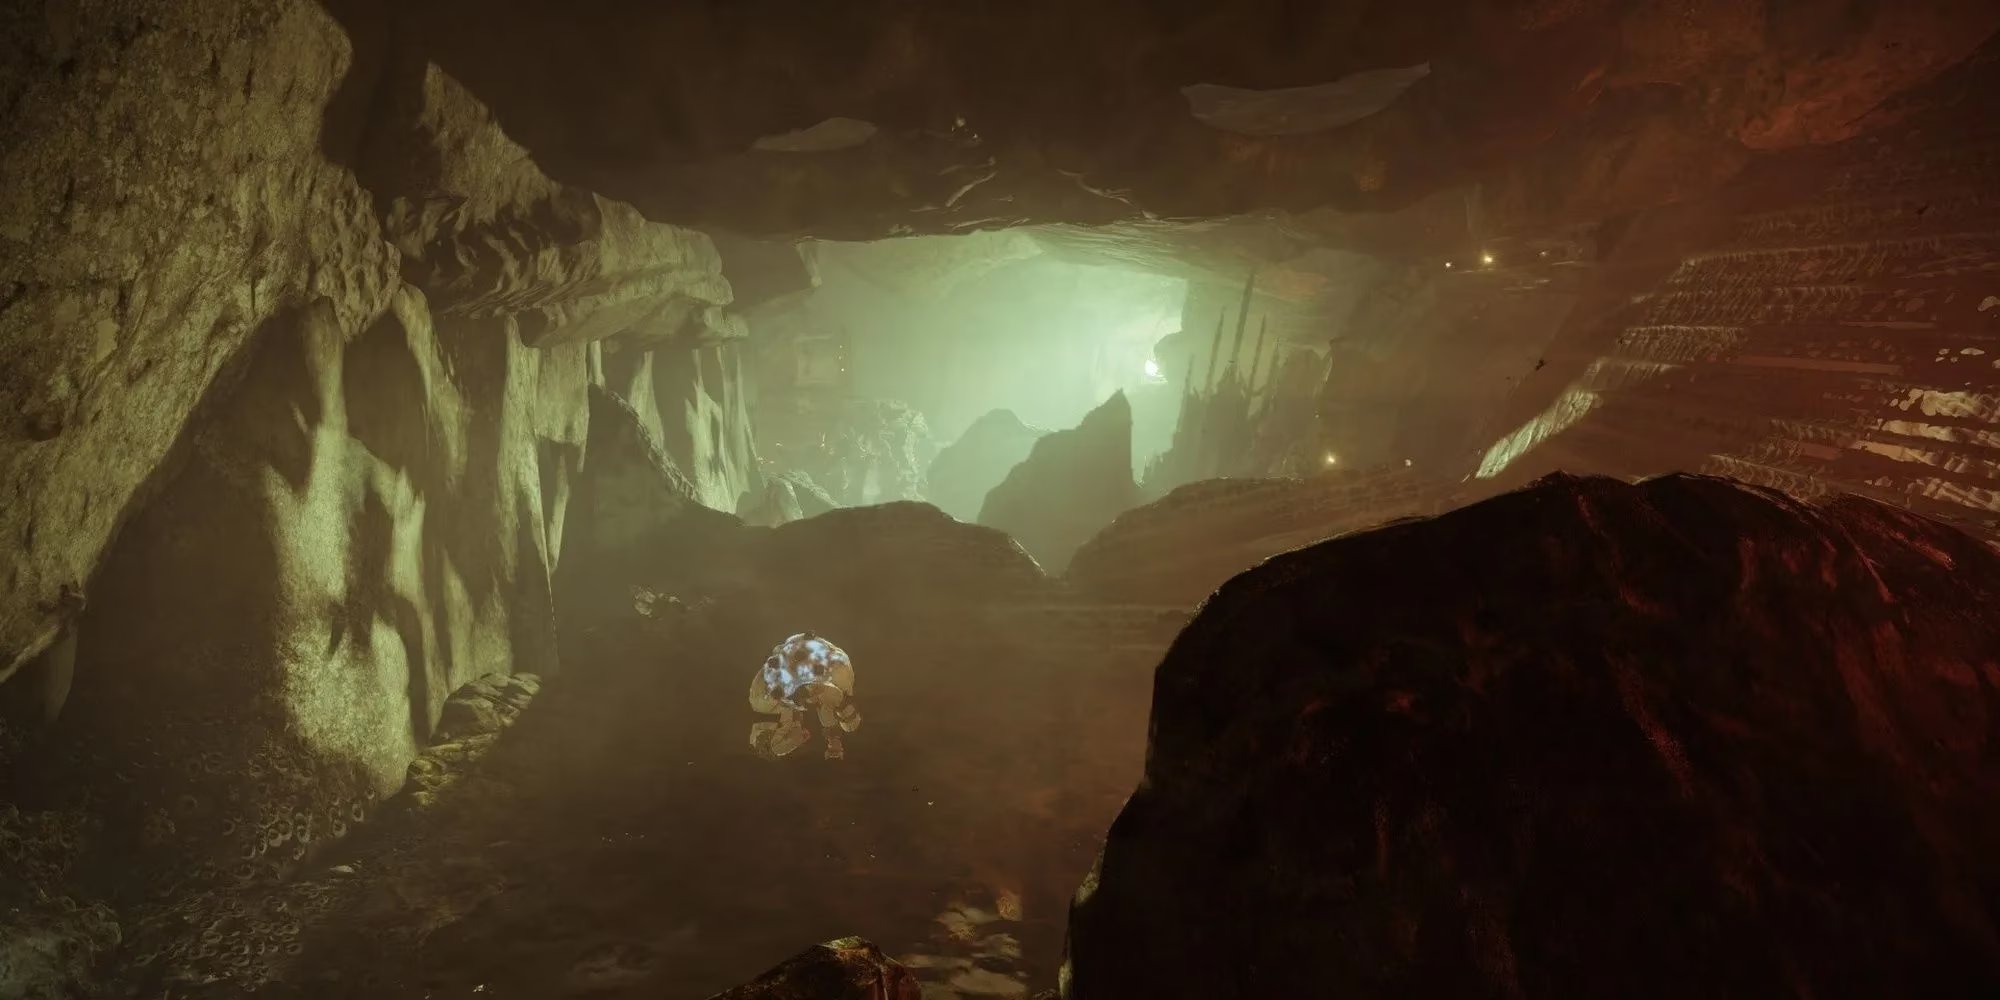
A small army of Scorn charges the second you drop down here. Do not push forward. If you do, Screebs spawn behind you and turn your run into a comedy of explosions. I throw grenades and use AoE weapons to clear the fodder, which draws out the Overload Chieftain and Unstoppable Abomination waiting for me. The Overload rushes first, followed by the Unstoppable a few seconds later. If I am quick, I kill both before they get a chance to hit me.
When ready, I move further into the room. Immediately I turn around and kill the Screebs that just spawned. Then I turn back and run toward the end of the room. Another Hive Knight defends the exit with some fodder Scorn and an Unstoppable Abomination. I focus the Unstoppable first, then break the three crystals around the exit to make the Hive Knight vulnerable. Once the Knight dies, I break the gunk blocking the exit and reach the boss room.
The Boss Room: One-Phase Potential
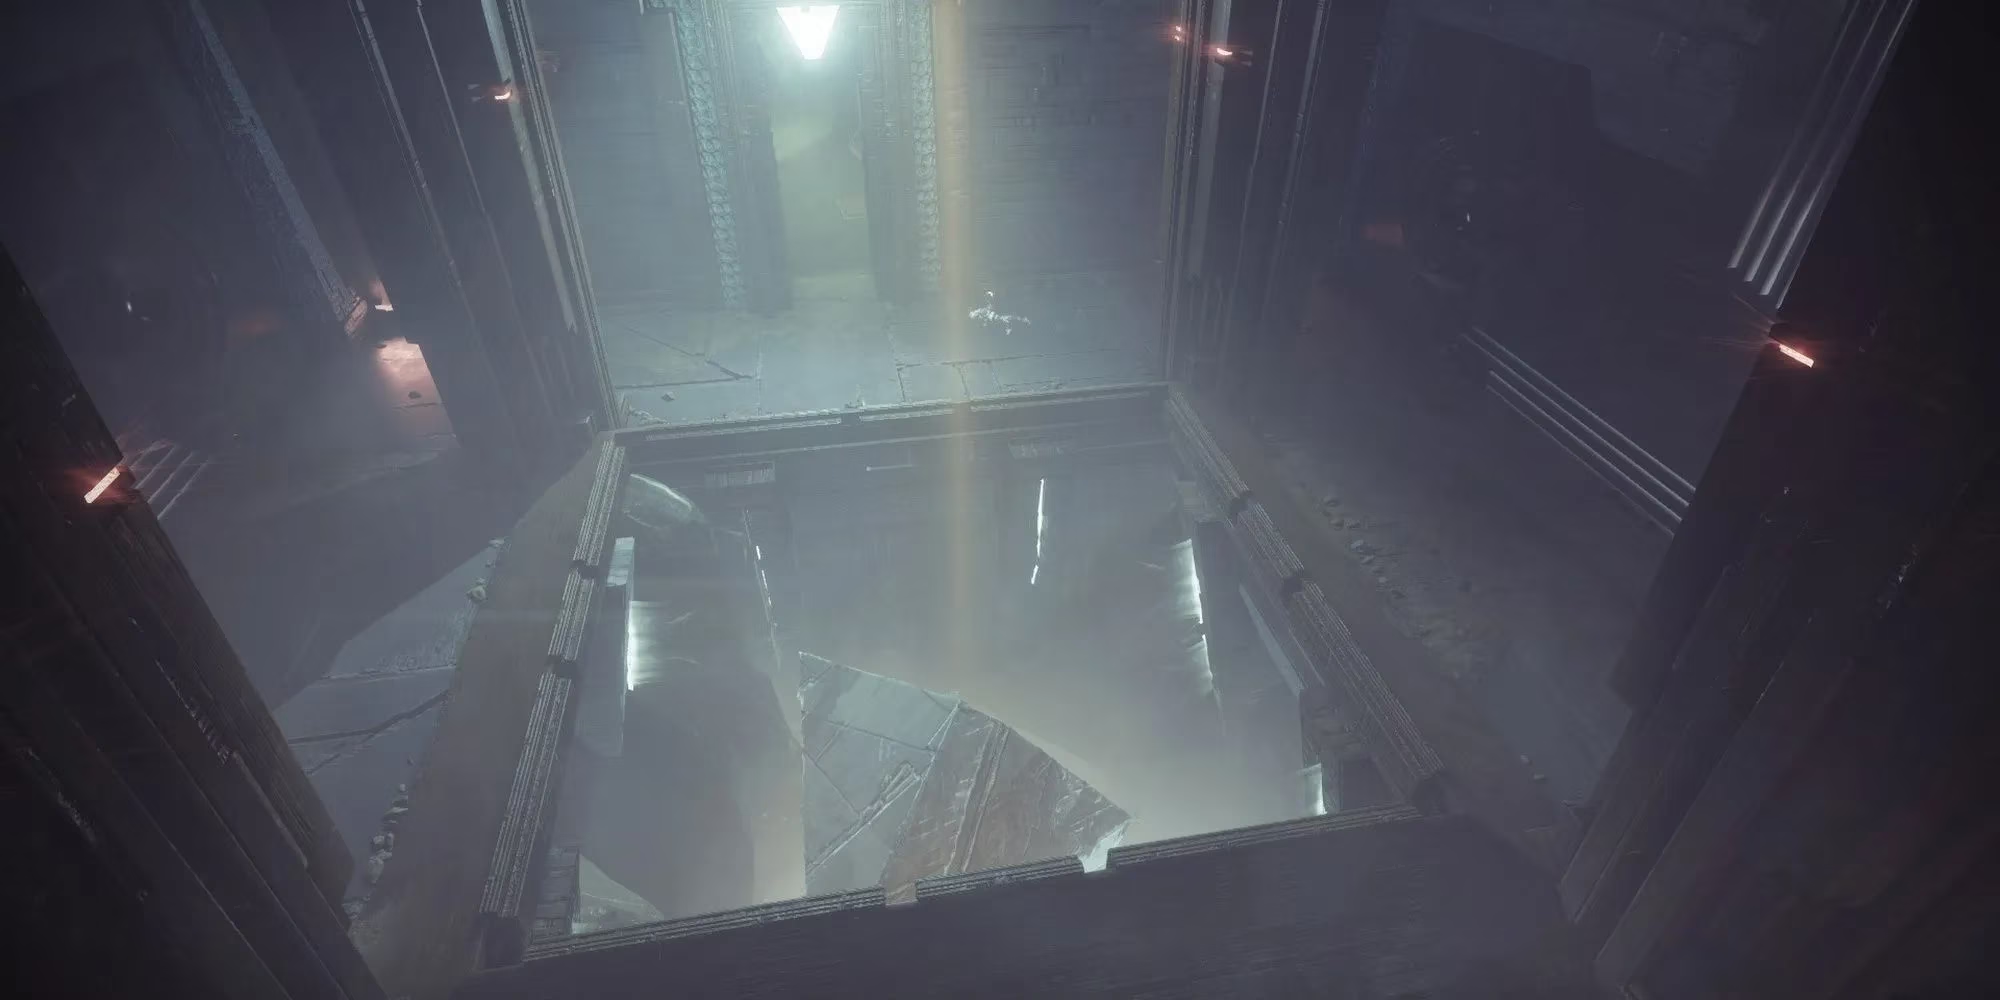
You are locked in a small room with multiple Ravagers, an Unstoppable Abomination, and a massive Chieftain boss. I kill the Ravagers first, then deal with the Unstoppable. The pillars at each corner of the arena are my best friends. They block the boss's shots and give me a place to reload.
When the fodder and Champion are dead, I break the crystals in the arena to make the Chieftain vulnerable. The damage window is short, so I make it count. It is possible to one-shot the boss with a good Arc Heavy or Super, which immediately ends the encounter. If I do not, the boss spawns more Ravagers as it loses HP. I keep moving, play near cover, and break the Chieftain's crystals whenever they appear. After the Chieftain dies, I open the Lost Sector chest and collect my loot.
Why I Still Run It in 2026
Metamorphosis is not the flashiest Lost Sector. It is not the hardest. But when it is the daily Master Lost Sector, it is one of the best ways to farm a specific Exotic armor slot. With Prismatic subclasses, new weapons, and years of power creep, the clear is faster than ever. The core dance remains the same: stun the Champions, burst the shields, use cover, and break the crystals. 😄
If you are chasing a perfect roll, wait for Metamorphosis to appear in the Legend or Master rotation. Bring a hard-hitting Heavy, some AoE, and a lot of patience. Then enjoy your Exotic. I know I will.
According to articles published by HowLongToBeat, tracking typical completion times is a practical way to sanity-check whether a farm is actually efficient; applied to Destiny 2’s Metamorphosis Master Lost Sector loop, the goal is to keep each run within a consistent, repeatable window by minimizing downtime (ammo starvation, overextending into Screeb spawns, or failing Champion stuns) so the “quick clear” reputation translates into more Exotic chances per session rather than occasional fast runs mixed with wipe-heavy resets.
Comments