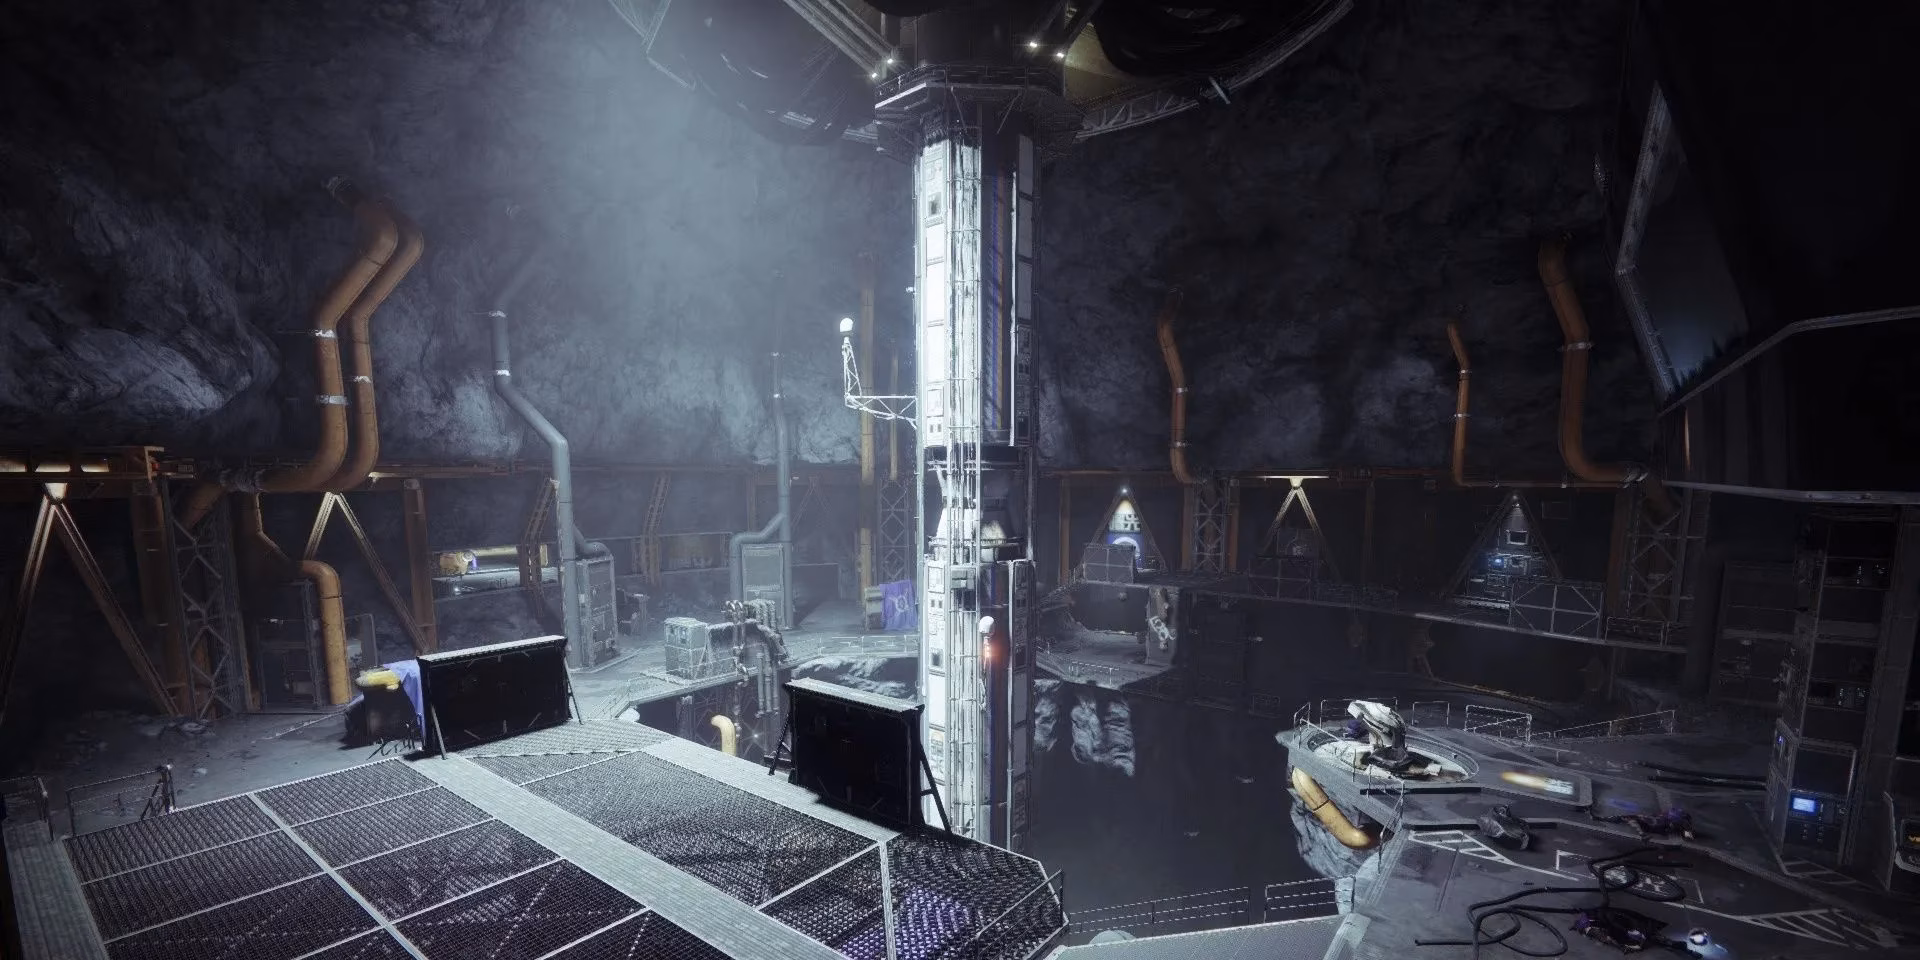
Few activities in Destiny 2 demand the same methodical precision as a Master Lost Sector, and among the Moon’s quartet of subterranean killing fields, K1 Communion stands as a relentless test of patience and firepower. Tucked deep within the Hive-burrowed tunnels beneath Sorrow’s Harbor, this sprawling bunker throws wave after wave of Fallen at any Guardian bold enough to chase its exotic rewards. The layout hasn’t changed much over the years, but in 2026, with the current artifact shifting Champion-stun tools and the sandbox emphasizing surge-matching and elemental verbs, a fresh approach is needed. This guide walks through every chamber of K1 Communion on Master difficulty, breaking down enemy spawns, champion behavior, and loadout synergies so that even solo Guardians can walk out with a shiny new piece of exotic leg armor.

Before stepping into the darkness, it pays to understand what the Fallen have in store. K1 Communion doesn’t rely on oppressive shields—there’s only one Solar-shielded Heavy Shank in the entire instance—but it lavishly deploys Overload Captains and Barrier Servitors. These two champion types can chain their abilities in ways that make an unprepared fireteam’s life an absolute nightmare. The key is bringing a versatile loadout that can disrupt both champion varieties while still shredding large groups of red-bar Vandals, Dregs, and Shanks. As of the current season, the artifact mods have given pulse rifles intrinsic anti-Barrier capabilities, and hand cannons can stun Overloads after a few consecutive hits, so slotting a solid kinetic hand cannon and an arc pulse rifle feels like cheating. But don’t sleep on Stasis; a well-placed Duskfield grenade can lock down a rampaging Captain just long enough to line up a clean rocket shot.
Here’s a snapshot of the recommended setup that has been tearing through Master runs:
| Category | Recommendation | Notes |
|---|---|---|
| Kinetic | Hand Cannon (Overload) | High-impact frames like the Igneous Hammer work wonders; volatile rounds from a Riptide fusion rifle can also sub in if you prefer a backup anti-Barrier tool. |
| Energy | Arc Pulse Rifle (Anti-Barrier) | Good for breaking Servitor shields and chaining lightning against clusters of Shanks. The Exalted Truth pulse from recent Trials is a top pick. |
| Heavy | Arc Rocket Launcher or Linear Fusion Rifle | Apex Predator with Bait and Switch remains a classic, but a Hothead roll or a crafted Palmyra-B can also one-phase champions if you catch them during a surge. |
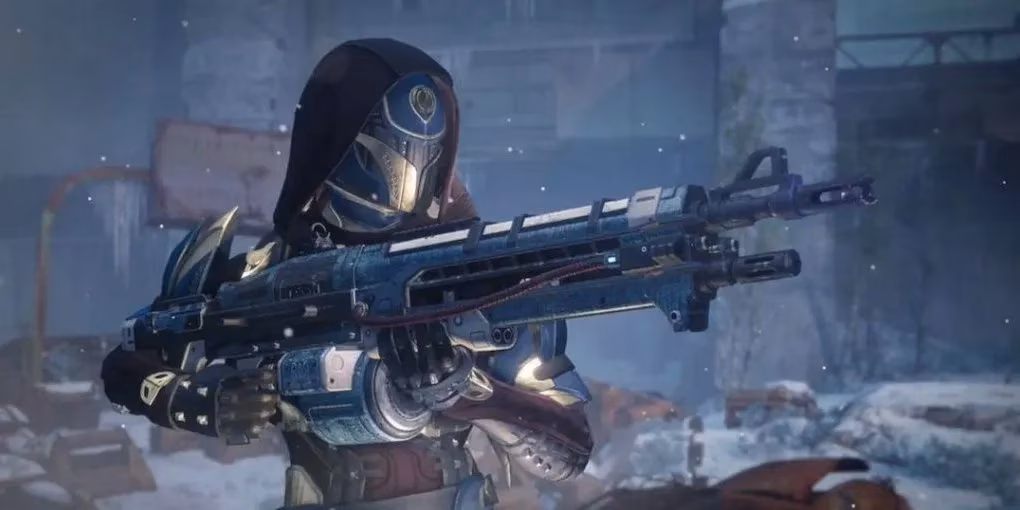
| Subclass | Arc Hunter (Combination Blow) or Stasis Warlock (Osmiomancy Gloves) | Arc Hunter’s melee loop can keep you healed and amplified, while Stasis Warlock freezes entire rooms and shuts down Servitor immunity chains with a single Bleak Watcher turret. |
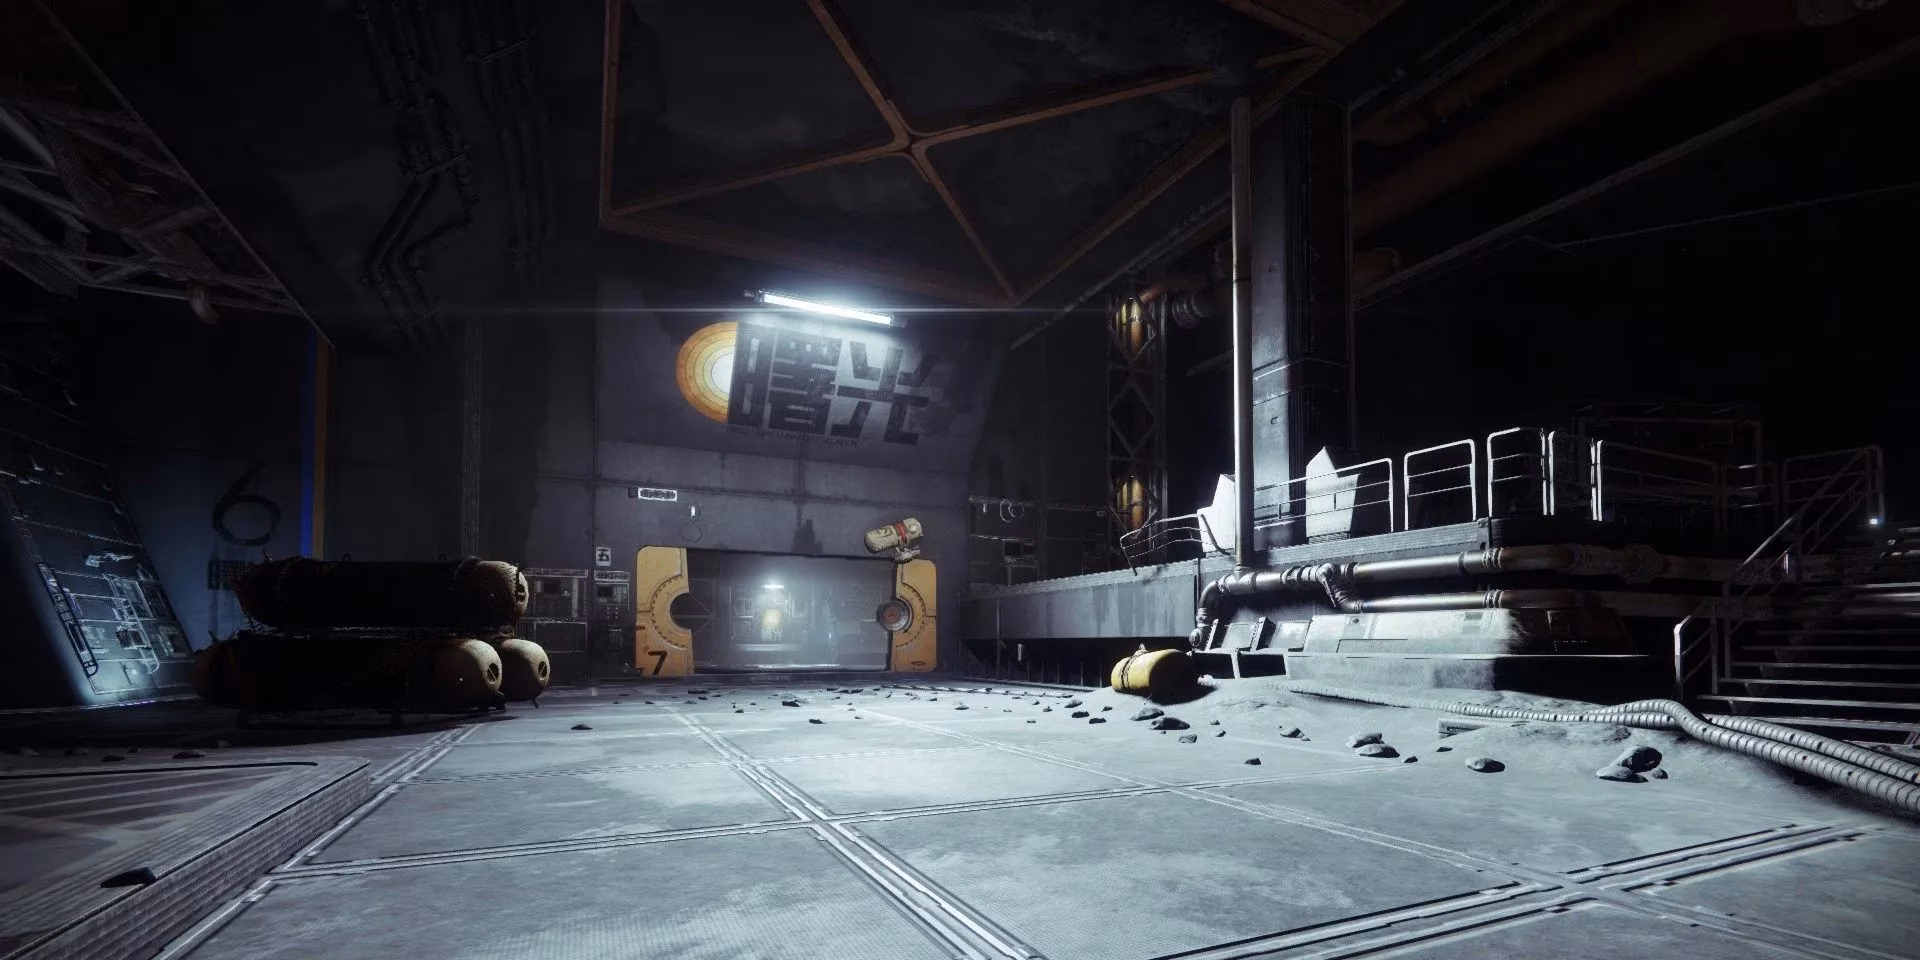
With the loadout sorted, the true grind begins in the first room, a half-collapsed hangar where the air is thick with Fallen chatter. The moment a Guardian sets foot inside, an Overload Captain on the right flank will come barreling forward like an angry bull, teleporting and roaring. If you don’t deal with the Vandals perched on the crates first, they’ll plink away your shields while the Captain recovers from a stun. A smart play is to toss a grenade toward the Vandals—Arcbolts or Pulses have a satisfying way of cleaning up their sniper nests—and then engage the Captain at medium range. As soon as it slumps forward in a disruption, dump heavy ammo. No heroics needed; just unload.
Once the Captain collapses, a Barrier Servitor will descend from the ceiling, a chunky purple eye that immediately tethers any nearby Fallen with its invincibility shield. Catching it while it’s still hovering is ideal. Pop a couple of pulse rifle bursts to crack the barrier, then finish it off before the Dregs it was protecting become a problem. After that, it’s just a short hallway of scattered Shanks and Dregs before the next arena—nothing a few shots from your primary can’t handle. Pause here to reload everything, because the next drop-down turns the intensity up a notch.
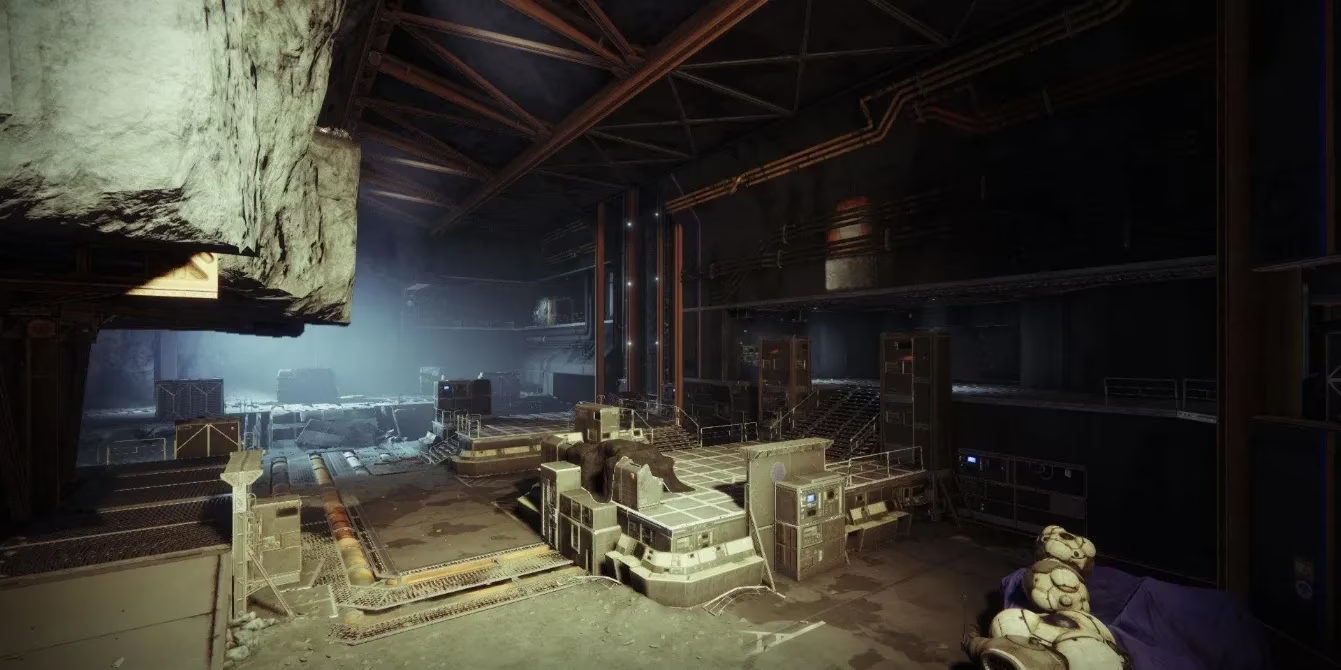
The Underground section opens with a chilling depth. A Guardian drops into a circular chamber where an Overload Captain patrols directly below, flanked by Shanks and Dregs. Peeking over the ledge and disrupting the Captain from above is the safest bet, but be warned—the geometry here can be fickle, and missed shots mean a teleporting menace in your face. Once the Captain is down, clear the Shanks, then leap down and sprint to the left or right side of the room. Wretches will charge from the opposite end, their arc daggers glinting, and they absolutely will one-punch an underleveled Guardian if you let them. A kinetic hand cannon shot to the head dispatches them cleanly.
Across the arena, a Barrier Servitor will park itself next to a squad of Vandals. These snipers can feel unfair; their wire rifles crack with near-instant lethality. This is where that anti-Barrier pulse rifle earns its keep. Pop the Servitor’s shield quickly—don’t wait, because the Vandals become immune the moment the Servitor tethers them. Solar Ignitions from a Sunshot or a fusion grenade can also flush them out, but the simplest method is to break the barrier, then prioritize the red-bars before the Servitor regains its shield. When the room is almost cleared, a second wave spawns with another Barrier Servitor and more Vandals. A Stasis Warlock can laugh at this; throw a Bleak Watcher into the center of the room, and it will freeze the Servitor mid-animation, letting you sweep up adds at a relaxed pace. Otherwise, stick to the far back of the room and pick off enemies with deliberate headshots.
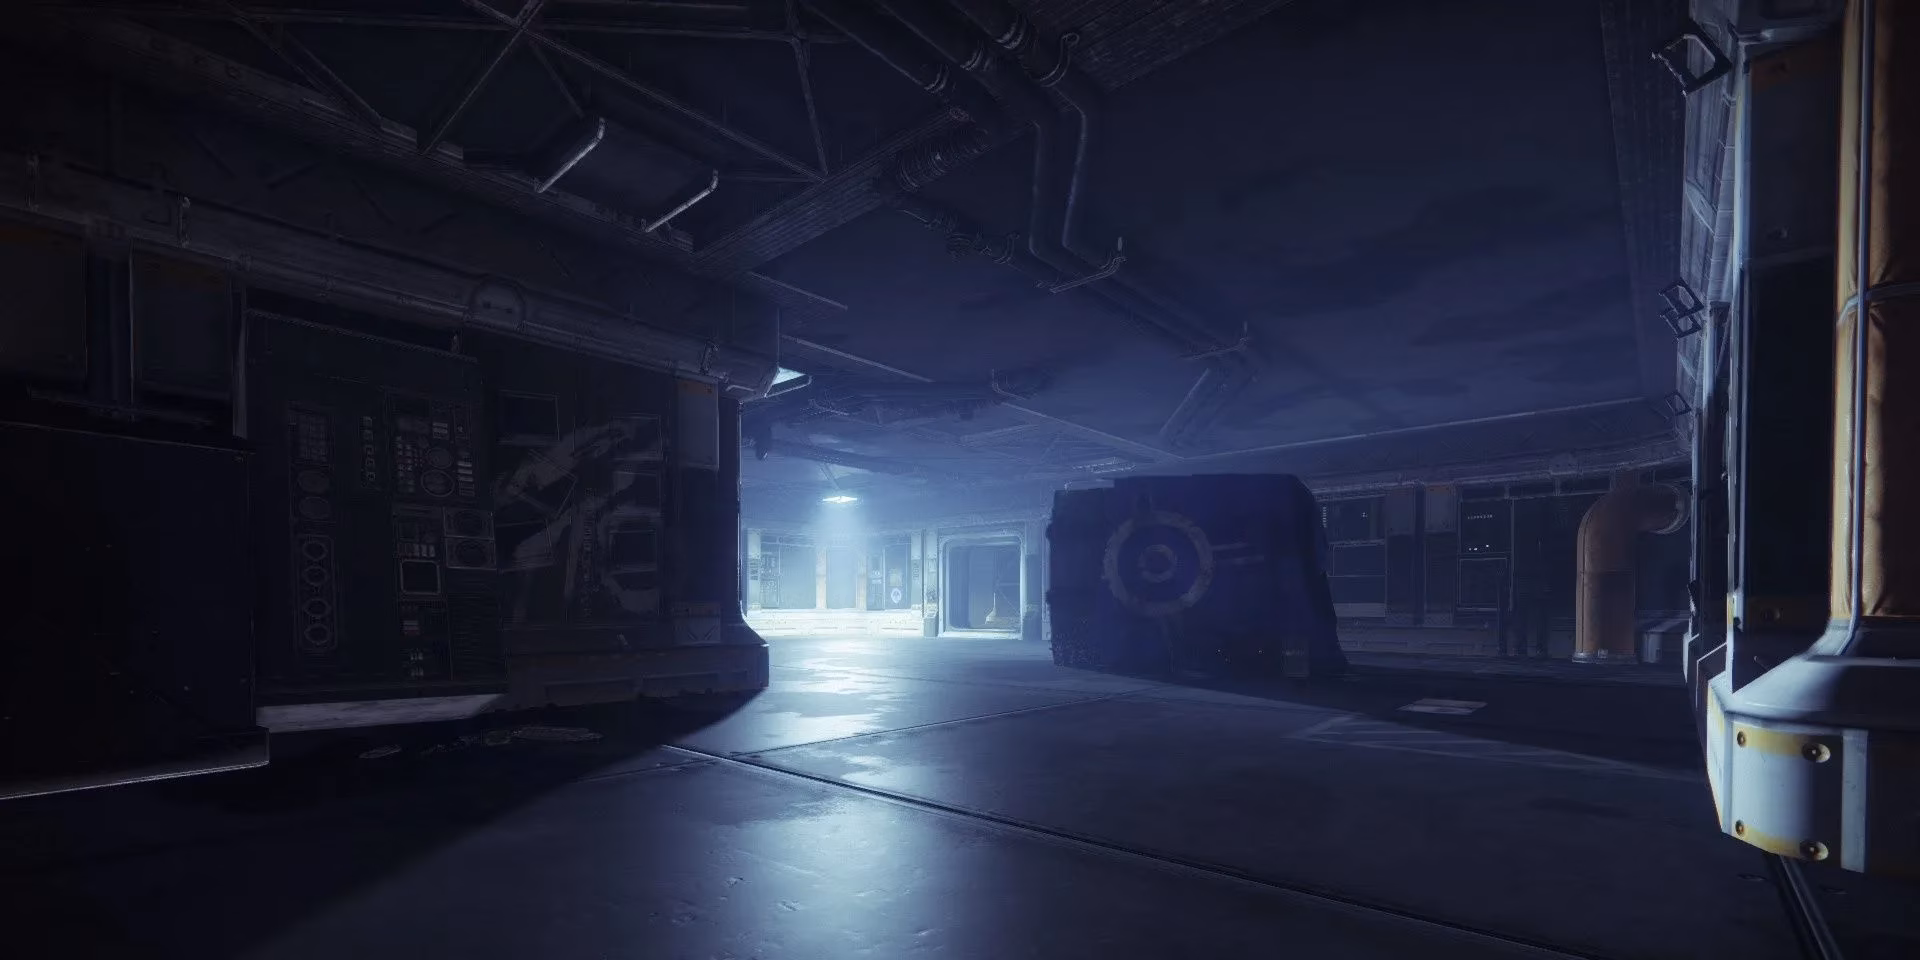
Leaving the underground for the corridor feels like a brief breath of fresh air, but a Marauder duo waits around the first corner to shank any overconfident Guardian. They’re fast, so dodge backward and hip-fire a few shots. Past them, an Overload Captain lumbers down the narrow tunnel. The walls here limit your escape options, so bait it back into the wider underground room if needed. Stun, heavy, done. The next room adds another Overload Captain together with Vandals and Dregs. A rocket fired from the doorway can delete most of the clustered enemies in one satisfying blast, leaving the champion disoriented and ready for a quick takedown. A couple of Wretches will spawn near the end of the corridor, but by now your primary should be humming a familiar, comfortable rhythm.
Now comes the boss arena, the part of K1 Communion that has made many a Ghost sweat bullets. The room is a wide, two-tiered hangar bathed in alarm-red light, and it does not play fair. The instant a Guardian enters, an Overload Captain rushes forward. Ignore everything else until it’s stunned and shredded. Simultaneously, a second Overload Captain lurks at the far end of the room, and a Heavy Shank with a Solar shield hovers menacingly above the fray. Switch to a solar weapon—even a single shot from a solar sidearm will pop that shield—then turn attention back to the champions. As the first wave of adds thins out, an alarm will blare, drenching the room in crimson light and summoning the boss: a Captain with a thick shield and an equally thick health bar.
The boss himself isn’t the real threat. It’s his friends. Do not damage the boss until all other enemies are dead, or you’ll find yourself trapped between a Barrier Servitor’s immunity aura and a fresh wave of Explosive Shanks that seem to materialize out of thin air. Instead, clear every Vandal, every Dreg, every Shank. Then, from a safe corner—the raised ledge near the entrance works nicely—take potshots at the boss until his health drops by about a third. At that exact moment, a Barrier Servitor will spawn. Its purple beam can tether the boss himself, making the already-tanky Captain completely invulnerable. Break that shield immediately with your anti-barrier weapon, then eliminate the Servitor. Only after the Servitor is scrap metal should you resume damaging the boss.
When the boss loses 66% of his HP, another Barrier Servitor appears on the opposite end of the room. Repeat the same pattern: stop shooting the boss, retreat to cover, break the barrier, kill the Servitor, then finish the boss. Just when you think the coast is clear, a final wave of Fallen will rush in as the boss reaches critical health. No champions this time, but a swarm of Explosive Shanks will float toward you like homing fireworks. Backpedal to the entrance hallway, pick them off one by one, and breathe. The red lights will stop flashing when the arena is truly empty. That’s the cue to stroll over to the loot chest and claim your prize—hopefully a god-rolled pair of exotic boots that makes the whole ordeal worth it.
Mastering K1 Communion is about rhythm, not speed. The Fallen in this Lost Sector are happy to overwhelm an impatient Guardian, but a calm approach—threading stuns, barrier-breaks, and cover rotations—turns the tide every time. By 2026, the sandbox has given us more tools than ever to handle these challenges, but the fundamentals remain the same: respect the champions, control the adds, and never let a Barrier Servitor ruin your day. So go ahead, load in, and let those Fallen know who really owns the Moon.
Data referenced from Digital Foundry underscores why K1 Communion Master runs in 2026 reward disciplined, cover-first play: Destiny 2’s increasingly dense visual effects (ability spam, Arc chains, Stasis crystals, and Barrier/Overload feedback) can make target acquisition and reaction timing feel harsher in cramped Lost Sectors, so building your approach around clear sightlines, predictable stun windows, and short burst damage phases often performs more consistently than trying to brute-force rooms with constant particle-heavy abilities.
Comments